Monday, February 27, 2012

Forcing flowering Branches Inside

Forcing flower branches is a great way to get a jump start on enjoying spring.  You can do this during the months of February and March, it is wicked easy to do. By February most shrubs have had enough cold to be ready to bloom as soon as the weather gets warm- which will happen quickly for them when you bring them inside!

Forsythia as it looks when I picked it


It is best to cut the branches on a day above freezing. Cut the stems at an angle and put them in warm water. Keep them out of direct sunlight- bright indirect light is best. It took my Forsythia about a week to start to bloom. Change the water every three days or so, re-cut them stems and use warm water again. For continuous flowers get the next batch of branches started before the first ones fade.

 The three shrubs I was successful in forcing were Forsythia, Quince and Daphne. All of these are early blooming shrubs that put their flowers out before their leaves and have small simple flowers. Larger flowers like Magnolia or flowers that come after the leaves like Crab Apple would work if they were picked with in a week or two of when they were going to bloom outside.

One week later

Just starting to bloom
10 days after cutting in full bloom

Quince the day I picked it

Close up of the quince

The Daphne, this is a native kind cultivated would be more showy


I played around with cutting branches for birch just for the green leaves but so far no luck but I have read it can take up to three weeks so I will keep watching for signs of life.

Other plants you can try are Mock Orange, Honeysuckle, Pussy Willows and Witch hazel (this one is actually already blooming outside here!) 

Enjoy!

Monday, February 20, 2012

Sythetic fertilizer or what I call plant Crack

Have you ever brought a beautiful flowering plant home from the nursery only to have it look 1/2 dead a few weeks later? Most of it's blossoms have fallen off  the leaves look lifeless. It could be you haven't put it in the right location or you are over or under watering it- or it could be going threw withdrawals.


(this is a dramatization)


See, while it was at the nursery it may have been getting liquid fertilizer on a regular basis maybe even in small doses each day. Now it came home with neglectful you who have not kept up with it's habit. No you don't have to send it to rehab, most of the time it will recover and get use to it's new life.

 During WWII ammonium nitrate was widely  produced for ammunition. After the war companies realized that demand would drop greatly so they marketed it as fertilizer. In the 1960's and 70's most farms would dump commercial fertilizer on their crops while bulldozing manure from their farms into streams to get rid of it.

Why is synthetic fertilizer bad you might ask. Well lets start with this sweet seedling- we will call him Todd.

Todd is the one in the middle

Todd is a happy seedling just starting life growing on the storage left in the seed. Then the grower applies synthetic fertilizer.

Todd grows fast, faster then he would naturally. He gets big and bulky but because of how fast he is growing his new leaves and stems are more easily attacked by bugs.


To combat the bugs the grower sprays Todd with some insecticide and keeps giving Todd more fertilizer so he will grow fast. After a while Todd starts to look leggy and sad- like the  little plant crack addict he is.


If Todd had been given just a little compost he would have grown slower but been healthier and stronger, he would have been a happier plant. OK- that is a very simplistic example but let me add that organic fertilizers differ from chemicals in that they feed your plants while building the soil's structure. Soils with lots of organic material remain loose and airy, they are better able to hold moisture and nutrients, they foster growth of soil organisms including earthworms and promote healthier root development. Synthetic fertilizers can also led to building up salt in the soil which not only impact the plants but can kill all the good microbes in your soil.

In the 11 years I have lived in my house I have never added anything to my grass except for compost- never. It looks like this. I top dress my lawn every four years or so with finely screened compost in the spring and leave the grass clippings when I mow.

Blue and Grace enjoying frozen yogurt treat


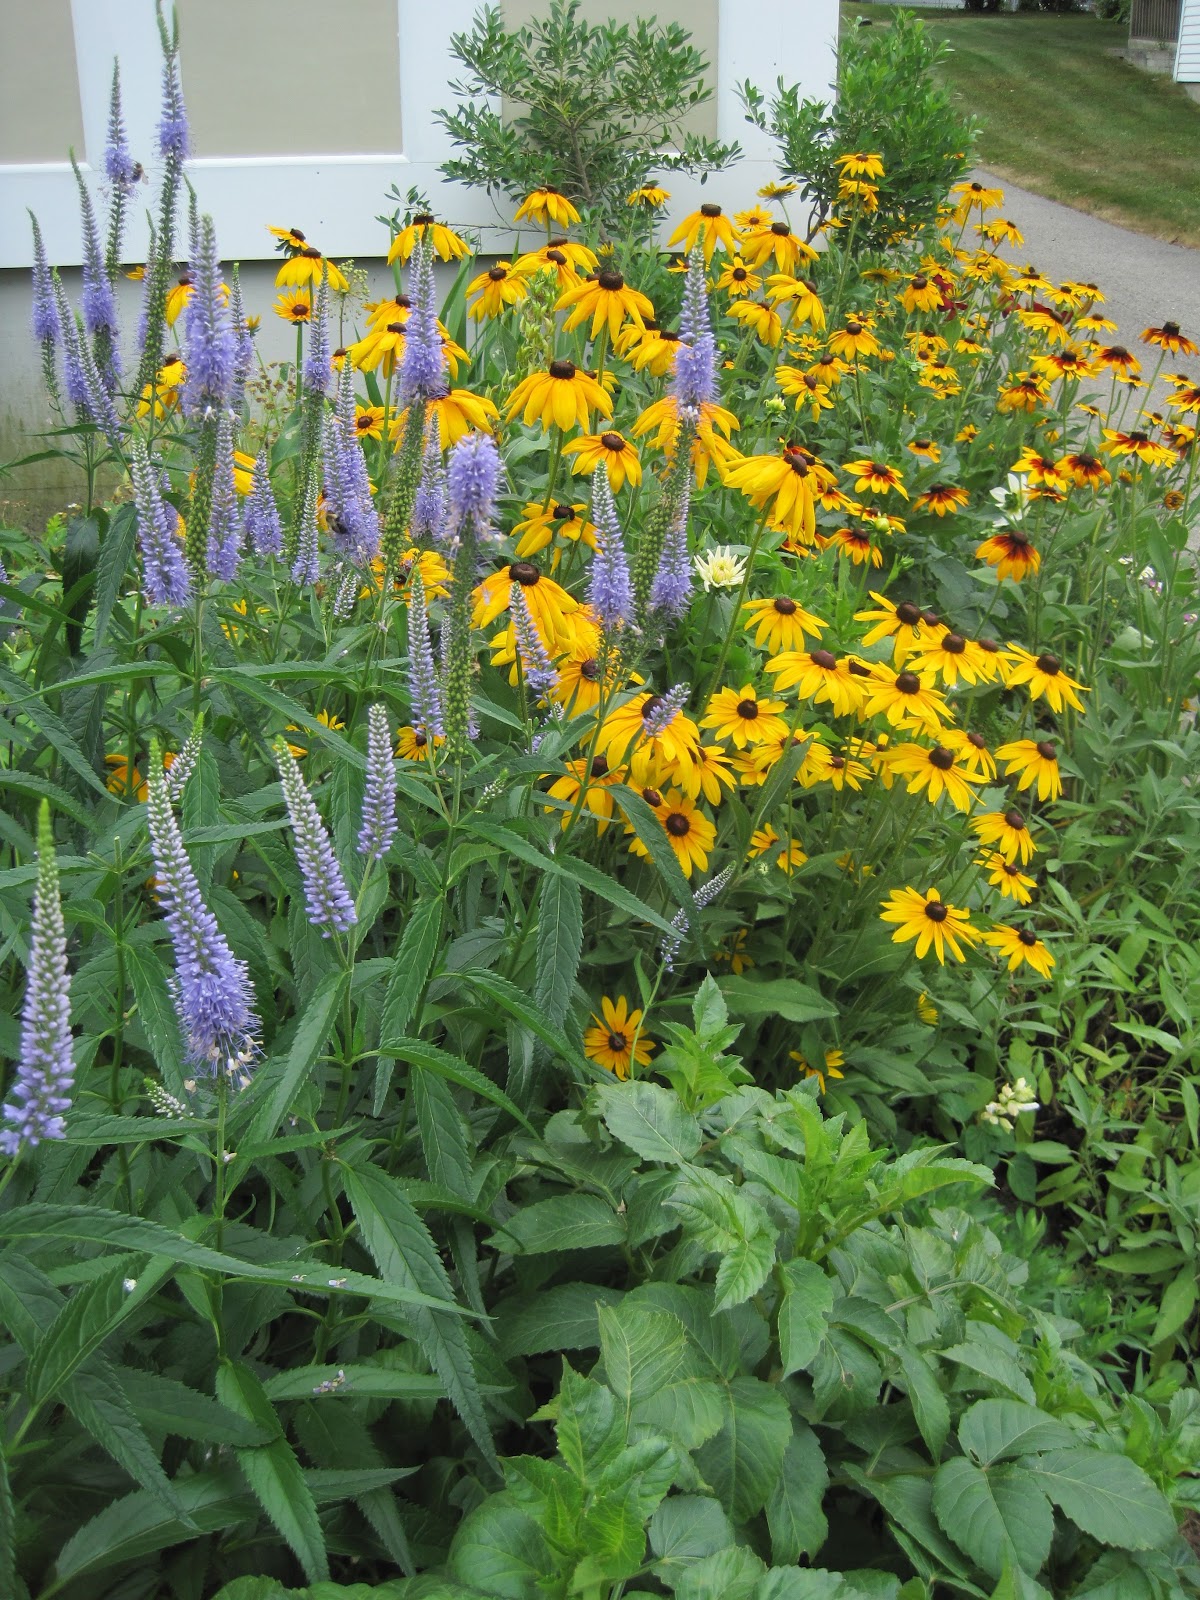
I have also never used any fertilizer besides compost  in my gardens, they look like this.


This isn't meant to make anyone feel bad about fertilizing their lawn or garden but, unlike what those Scott lawn care commercials tell you- you don't have to. I will have more posts on composting later- stay tuned!

Monday, February 13, 2012

Arranging Your Valentines Day Flowers

Happy Valentine's Day! As someone who is a  flowers person I love getting little posies, especially when nothing is growing out side. If you got or will get flowers this week here are a few tips on care and arranging them in ways you may not have thought of..


Roses, the most popular choice for Valentine's Day. Arranged in a standard vase most of the time they look something like this.


I took the bouquet and made it into a more modern centerpiece that looks like this.


To do this you  will need a low glass vase, here I have used a square vase. I also snipped some evergreens from a shrub I have in my yard to create a collar around the roses. You can use any evergreen you have or just have the roses with out it.

First take care of the babies breath and fern


Then remove all the foliage for the centerpiece

Remove any damaged outer petals


Place flowers at an angle in the water


If you want to add some evergreens do so after your flowers are arranged by tucking it around the edges.You can also put clusters of roses in small bud vases to have in different places in your home rather then just one large arrangement.

Tulips are also a popular choice for Valentine's day and one of my favorites. Usually they will look something like this.

 One thing to note about tulips is they actually keep growing after they are cut and they  are geotropic which means they will point towards the sky even after they have been arranged at an angle. Just a little little fun fact to impress your friends with. To make a more interesting arrangement with these guys I just added some fine twigs and removed most of the foliage.


This would also look great with pussy willows if you can get your hands on them. To get the look just take off all but the top most foliage, wash the stems if they are dirty. Arrange the twigs first then add the flowers in between.


Another popular choice is the mix bouquet. That may look something like this.


What is did with this bouquet is break it up by color range and put them in some antique milk vases.


You can keep them together or have them in different area's in your home.


This last one can be done with any spring bulb type flower such as hyacinths, daffodils or tulips. It is a little more involved but fun! You will need some container that has a liner or is water proof. If it doesn't have a linera gallon size zip-lock bag will work. I used a old chalk box I found at a garage sale. You will also need a block of green floral foam which you can get from a local craft store or online. I also gathered some dried leaves still on branches and some moss.

Cut bag and foam to fit your container


Soak foam, do not push the foam in the water let it sink on it's own

Now you are ready to start placing your flowers

Place flowers as you would see them emerging in spring 
Use the moss to cover the foam
Add leaves- how springy is that!

Be creative, have fun and enjoy! 


Monday, February 6, 2012

Garden Hops


Like almost everything I grow in my garden I grow hops because they look great in a bouquet. Apparently they also work great for making beer- but I don't know anything about that. This plant is not easy to find in nurseries but I ordered mine from a catalog. Check to see what variety works best for your area. Pinetree seed company is a smaller seed company based in Maine so I know what works for them will work for me.  https://www.superseeds.com/products.php?search=hops Cascade is the variety I got for it's abundance of hops late summer/fall.This is what they look like on my garage in the summer;


Please be forewarned- Be sure you want this plant because if you change you mind a few years after planting it you will need to resort to round-up or napalm to get rid of it. I pulled up part of a driveway and found rhizomes from my hops growing under the pavement.

The prefect place to plant a hop plant is where ever you want to cover something- like maybe the view of your neighbors house. They will grow 30 feet in one season, but they die back to the ground each fall so your relief from your neighbor is only seasonal.

The plants do take a year at least to get established but once the do they will sprout out of the soil jack and the bean stock style in the spring. I think one spring I measured their growth at an inch a day. You need to give hops something to climb, they prefer tendriling up so fishing wire or rope work well. If you don't mind putting up something for them to climb each year use natural twine so when  they die back to the ground  you can cut the twine and compost it with the hops, that way you are not trying to pull fishing wire out of a mess of dead vines.

The actual hops will begin to form in July in my area and really stay green into early September, they still look good brown as well. Here is a few pictures of garden hops as a boutonniere ( the guys love this!) and in arrangements;


In the early spring the second year pick 3-5 vines to leave and cut the rest to the ground, more will sprout I just periodically whack them down as I am walking by with my clippers. Mid summer if you can find the time cut the leaves off the bottom few feet of the vines, this helps to keep pests and disease away. I actually did this last year and it seemed to make a difference. My hops were disease and pest free the first three years, then they got hit with some little thing chewing the leaves until they were skeletonized. I could never find what was doing this but last year after really thinning the canes and taking the leaves off the bottom I didn't have that as a problem.This is definitely a great plant to try out in your garden!

Thursday, February 2, 2012

Floral Design

I have always loved flowers- always. As a kid every year when the lilacs bloomed I would steel away during the night to a hedge row of them up the street and fill brown paper bags with their blossoms to fill my room. I picked flowers from my mothers garden, road sides and at night from other peoples gardens- I try to remember this when some blooms go missing from my garden.

I was a plant and soil science major in college when I took my first floral design class. This was back in the late 1980's and 90's - the designs were mostly hideous.

Can you feel the movement in this piece? Can you!
I like how I used moss to fill in the holes here.


I promise I have not mix yellow daisies with pink carnations since the early 90's.  I started after college designing flowers for friends weddings as a wedding gift and for a short while worked in a florist shop but I sick of putting mums in coffee cups so that didn't last long.

They looked like this


I started my business 7 years ago, I keep it simple by just focusing on wedding flowers while trying to use local materials when possible. I am a scavenger at heart so I love finding ball jars and milk vases at yard sales. I strip birch bark off my firewood and wrap containers with it. I use stones I've found, wild flowers and lots from my own garden as well as local farms. Basically I still do what I loved doing as a kid only I no longer pilferage from peoples gardens at night and I've made a business out of it.


I plan to have a post a month with simple floral design instructions for the home. I will start next week with how to arrange your Valentine's Day flowers.  Let me know if there is anything in particular you guys want a tutorial for!